Know Your Terrain Before You Step Off
Before you even lace your boots, you should already know the land at least on paper. Start with topographic maps and satellite imagery. These give you the bare bones: contours, vegetation density, ridges, valleys. Add trip reports from others who’ve been through the area. They give you real world insight: trail conditions, seasonal water availability, surprise obstacles that maps don’t show.
Elevation changes are more than just numbers they shape your pace, your energy use, and your bailout options. Steep climbs and long descents drain you fast and can turn an easy loop into an exhausting push. Water sources matter too, especially in hot or remote areas. Know where they are, but don’t assume they’ll be flowing check recent info, and pack accordingly.
Before you head out, mark key waypoints: trail junctions, prominent landmarks, emergency exit routes. Drop pins on your phone, but also note them on a physical map. Batteries die. Paper doesn’t. Good prep turns the unknown into something you can work with. Simple, not flashy. That’s competence.
Use Landmarks Like a Pro
Forget digital breadcrumbs for a minute. Nature gives you more than enough if you know what to look for. Ridgelines show you elevation and direction. Rivers point downhill and often lead to trails or roads. Rock outcrops and tree groups especially those that stand out from their surroundings can anchor your mental map. Know them, note them, and use them.
The key is to stay alert. As you hike, keep doing quick 360 degree scans. Mentally snapshot the terrain behind you every so often it’ll make backtracking a lot easier if things go sideways. No device? No problem, as long as you’re paying attention. Even subtle things like a forked tree or a twisted root across the trail can serve as silent trail markers.
Breadcrumbing isn’t just something tech does. You can do it too. Brush a branch across the path, stack a few pebbles, or tie a scrap of biodegradable tape (only if necessary and always remove it on the way back). These low impact markers, if used sparingly, can help you retrace your steps without leaving a mess.
Remember, the land is talking. All you have to do is listen and look around.
Master the Compass and Map Combo
First thing’s first: orient your map. Lay it flat, align it with true north using your compass, and make sure features in front of you match what’s on the paper. It’s the simplest way to start thinking like the terrain. From there, triangulating your position means taking bearings from at least two known landmarks and plotting them where the lines cross. It’s not glamorous, but it’s accurate.
When you can’t see external features say, in a thick forest you’ll turn to dead reckoning. That’s estimating your position using a known start point, direction, and pace count (or time). It’s a bit like guessing your mileage when your GPS dies: good enough over short stretches, unreliable if you drift. Resection, on the other hand, shines when you’re trying to figure out where you are based on visible landmarks. Use it when the view opens up and you spot a distant ridge or lake you can identify.
In dense woods or uneven terrain, accuracy comes down to three habits: break often to confirm where you are, check against your map constantly, and don’t rely on a single point of reference. And don’t trust your phone alone terrain eats signals. Compass and map will always beat battery life.
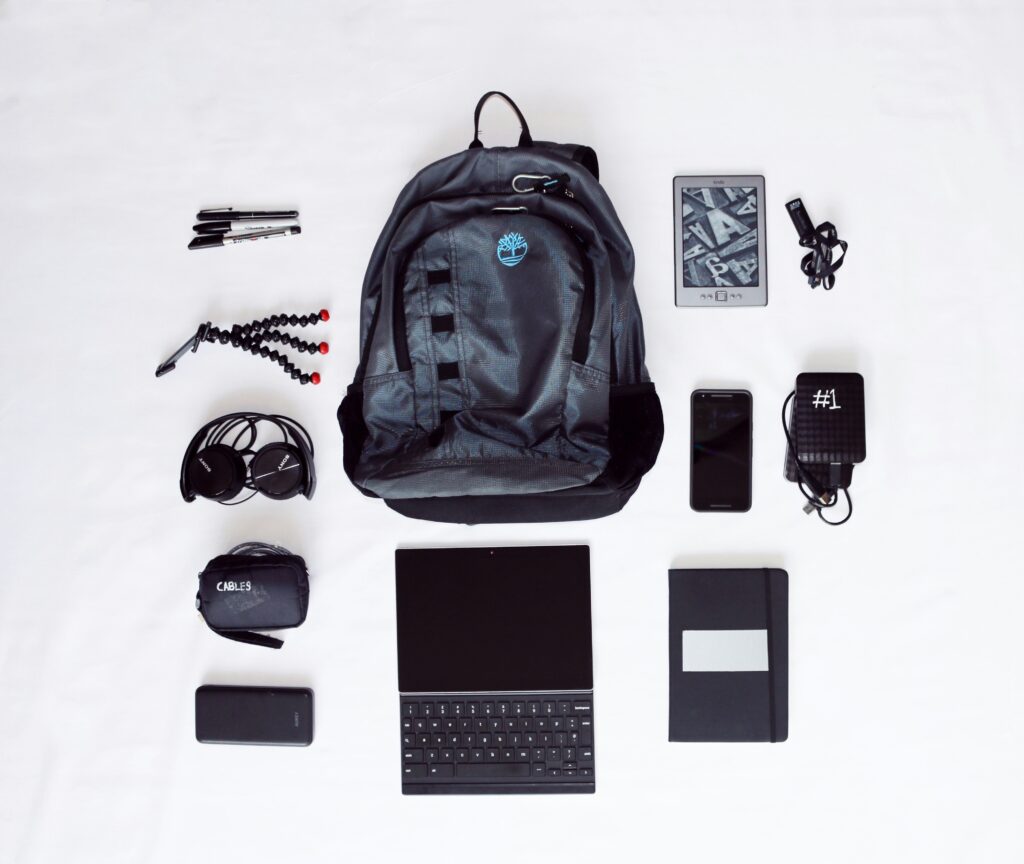
Digital Tools That Actually Help

Even the most analog minded adventurers are leaning on digital navigation when it’s done right. Apps like Gaia GPS, onX Backcountry, and AllTrails have proven reliable, especially when you know how to make them work without cell service. The key: download your route and regional maps ahead of time. Not just the trail. Get multiple zoom levels and surrounding terrain so you’ve got options when plans shift, which they often do.
But don’t put your full trust in your screen. Always cross reference with a paper map. Apps are tools, not crutches. Screen glare, signal disruption, or a frozen touchscreen can put you in a bad spot fast. A waterproof map won’t quit when the weather turns.
Cold and remote conditions drain batteries fast. Airplane mode helps, but for heavy use, go further: dim the screen, turn off background apps, and keep your phone against your body to stay warm. External battery packs designed for sub zero environments can be lifesavers.
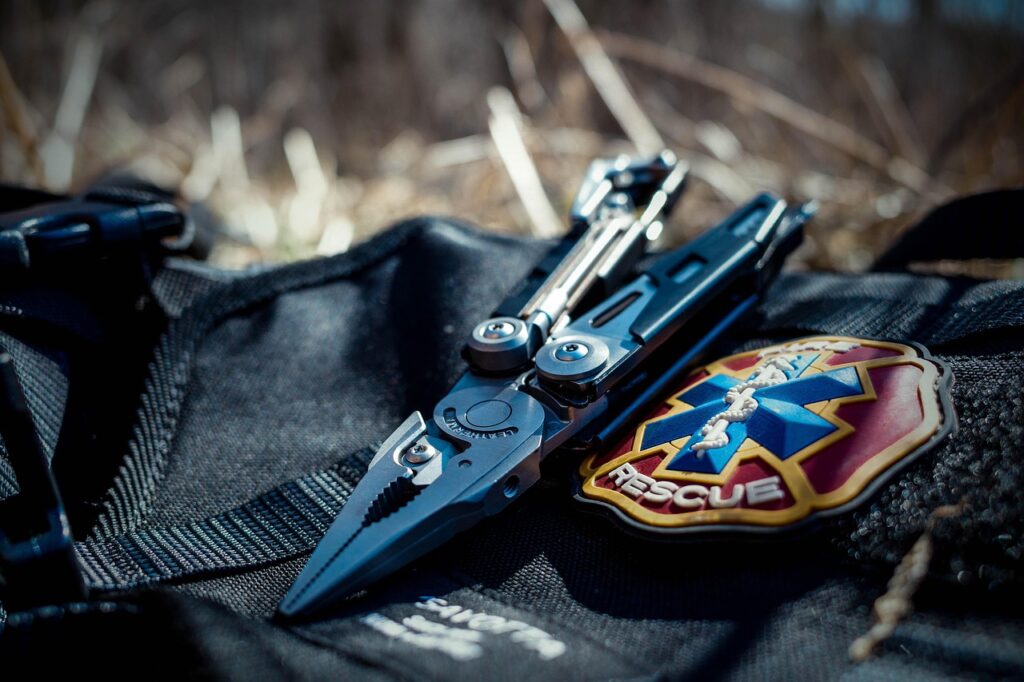
If you want hardware built for survival, step up. Dedicated GPS devices like the ones on this list top GPS devices—are built tough, don’t depend on fragile smartphone ecosystems, and often come with more detailed topo data and emergency signaling tools.
Bottom line: digital nav is useful if you plan ahead and build in backups. Out here, redundancy isn’t overkill it’s smart risk management.
Pro Techniques for Staying Oriented
When devices fail or visibility drops, you fall back on the essentials. Handrail features are one of them. These are long, obvious lines in the landscape like rivers, ridgelines, or even fences. Instead of wandering blind, you follow the edge. Stick to the high ground if that’s your guide. Shadow the edge of a stream downhill. You’re not guessing you’re tracking along something fixed.
In a group, leapfrogging adds another layer. Send one hiker ahead to a visible stop point (a lone boulder, a bend in the trail), while the rest follow. That person becomes a visual anchor. It breaks the terrain into digestible chunks and gives your eyes a known reference point. It’s old school, but it works, especially when bushwhacking or dealing with poor trail markings.
Finally, check your timing and pace against expectations. Got your estimated pace per hour? Use watch checkpoints and terrain guesses to test your position. If you thought that creek crossing would be 45 minutes in and you’re still climbing dry ground an hour later, something’s off. Pause, look around, cross check. Staying found is about attention, not speed.
When You’re Turned Around
First rule: stop moving. You can’t navigate your way out of confusion by walking deeper into it. Sit down, breathe, and get a mental grip on what’s known versus what’s guessed. Panic burns daylight and energy. Calm buys time.
Now retrace mentally. Think back to the last confirmed point: a trail junction, stream crossing, ridge crest. Don’t start walking yet. Look for landmarks you passed. Compare terrain to your map or downloaded app, and don’t just rely on memory trust the topography.
If retracing physically feels right, go slow. Backtrack with purpose, not desperation. Mark spots if you didn’t before stones, sticks, even notes on your phone. If the route doesn’t check out or terrain feels wrong, stop again. The second wrong turn is usually worse than the first.
Before you hit SOS, use what’s on hand. The sun’s direction can confirm your heading. Elevation can hint at contour errors. Your device if it still has battery can show you more than position. It can help cross check where you aren’t.
And if you’re carrying one of the top GPS devices, this is their moment. These units save time, and in the backcountry, time is safety.
Find your mind before your path. It’s the only way out that works.
Building Real Confidence
If you’re not practicing navigation before your trip, you’re setting yourself up to fail. Start small. Pick a local nature preserve or a familiar patch of woods. Bring your map, compass, maybe a basic GPS app but keep your phone in your pack until you need it. Try navigating in and out without help. Make it a game. Make it routine.
After each outing, log what worked and what didn’t. Map slips, pacing errors, missed landmarks all of it. Over time, these notes turn into a personal playbook. You’ll spot your patterns, tighten your process, and gain the kind of field readiness that no book or YouTube tutorial can teach.
The final truth? Navigation is about attention. Tools are fine, but staying found depends on how well you’re reading the land its shape, its sound, its shifts. Stay present. Learn to look up. That’s the difference between wandering and knowing where you are.