Drawing a famous face like Kylian Mbappé can feel daunting. But it doesn’t have to be. This guide is all about breaking down the process into simple, manageable steps.
Anyone can follow these, no matter their skill level. By the end, you’ll have a recognizable portrait of the football superstar. We focus on easy techniques, not hyper-realistic detail.
Perfect for beginners. We’ll cover key features like his distinct smile and hairstyle. Ready to mbappe tekenen makkelijk?
Let’s get started.
Gathering Your Tools: The Simple Supplies You’ll Need
When I first started drawing, I was overwhelmed by the sheer number of supplies out there. But trust me, you don’t need a lot to get started with mbappe tekenen makkelijk.
- Pencils: Grab an HB for sketching and a 2B for darker lines. The HB is perfect for light, initial sketches, while the 2B gives you those nice, bold outlines.
- Paper: Stick with standard sketchbook paper. It’s versatile and won’t break the bank. Avoid anything too shiny or thin; it can make your drawings look messy.
- Kneaded Eraser: This is optional but super helpful. It lets you make gentle corrections without damaging the paper.
- Blending Stump: Another optional tool, but great for adding simple shading and smoothing out your lines.
Choosing a good reference photo is key. Go for a clear, well-lit image where Mbappé’s features are visible. This will make your job a whole lot easier.
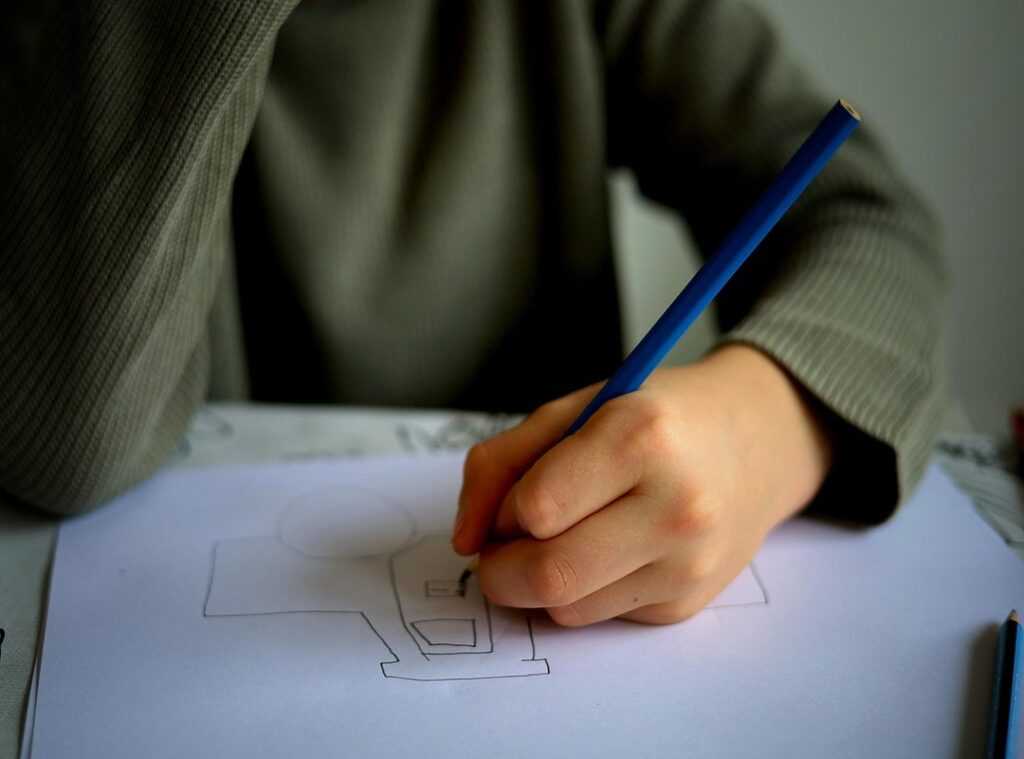
Step 1: Building the Foundation with Basic Shapes
Let me tell you, I’ve been there. You’re staring at a blank page, and it feels like the most daunting thing in the world. Trust me, it gets easier.
Start by lightly sketching a simple oval for the head shape. It doesn’t need to be perfect, and just get something down.
Next, draw a vertical centerline and horizontal guidelines for the eyes, nose, and mouth. These lines are your best friends. They help you achieve correct proportions, which is the secret to capturing a likeness.
I remember when I was learning mbappe tekenen makkelijk. The guidelines were a game-changer. Suddenly, my drawings started to look more like the real person.
Now, place the jawline and chin, relating them to the initial oval shape. This step gives your portrait structure and character.
Add a guideline for the neck and shoulders to ground the portrait and give it a more complete look. It’s like giving your drawing a solid base.
Pro tip: Keep all these initial lines very light. You’ll erase them later, and you don’t want any harsh marks showing through.
By following these steps, you’re setting yourself up for success. It’s all about building a strong foundation.
Step 2: Capturing Mbappé’s Signature Features

Let’s dive into the nitty-gritty of drawing Kylian Mbappé. First up, the eyes. Break them down into simple almond shapes placed on the eye guideline.
It’s not rocket science, but it does take some practice to get right.
Now, for his nose. Start with a simple circle for the tip and add two small curves for the nostrils. This might seem a bit tricky at first, but trust me, it gets easier with time.
Moving on to the mouth. Pay special attention to capturing his well-known smile or a neutral expression. The key is in the details—how the corners of his mouth curve, the shape of his lips. learn more
It can be a bit uncertain, but that’s part of the process.
The ears are next. Use the eye and nose guidelines as reference points for the top and bottom. Ears can be a bit of a challenge, but using these guidelines helps a lot.
One thing I always tell people: observe the reference photo closely. Look at the specific angles and spacing of his features. This is where mbappe tekenen makkelijk really comes into play.
It’s all about those little details that make your drawing stand out.
Remember, it’s okay if you don’t get everything perfect the first time. Drawing is a journey, and every stroke brings you closer to capturing the essence of Mbappé.
Step 3: Adding Hair and Defining Details
Let’s tackle Mbappé’s short, cropped hairstyle. Use simple, textured lines to capture the overall look, rather than drawing every single strand. This approach gives a more natural and less cluttered appearance.
Define the hairline. Notice how it frames his face and adds to the likeness. It’s a subtle but crucial step in getting the portrait right.
Now, introduce basic shading techniques. Focus on areas like under the nose, below the lip, and along the jawline. Shading adds depth and dimension, making the drawing more lifelike.
Go over the most important final lines with a darker pencil (like the 2B) to make them stand out. This step is key for adding clarity and definition to your drawing.
Carefully erase the initial guidelines to clean up the drawing and reveal the finished portrait. This is where you see all your hard work come together.
Remember, practice makes perfect. The more you draw, the better you’ll get at capturing these details. Pro tip: Try using a reference photo to help you get the proportions and details just right.
Drawing Mbappé can be a fun and rewarding experience. Just follow these steps, and you’ll be well on your way to creating a great portrait. mbappe tekenen makkelijk!
Your Finished Portrait and Next Steps
Congratulations on completing your drawing of Kylian Mbappé! You followed a simple three-step process: starting with basic shapes, adding key features, and finishing with hair and details.
Drawing is a skill, and practice is the most important factor for improvement.
Try mbappe tekenen makkelijk again from a different photo or attempt drawing another one of your favorite players.
Keep exploring and challenging yourself, and your artistic journey is just beginning!
 There is a specific skill involved in explaining something clearly — one that is completely separate from actually knowing the subject. Thomason Hardingangers has both. They has spent years working with yiganlawi terrain expedition guides in a hands-on capacity, and an equal amount of time figuring out how to translate that experience into writing that people with different backgrounds can actually absorb and use.
Thomason tends to approach complex subjects — Yiganlawi Terrain Expedition Guides, Nature Trek Insights and Basics, Outdoor Survival Gear Tips being good examples — by starting with what the reader already knows, then building outward from there rather than dropping them in the deep end. It sounds like a small thing. In practice it makes a significant difference in whether someone finishes the article or abandons it halfway through. They is also good at knowing when to stop — a surprisingly underrated skill. Some writers bury useful information under so many caveats and qualifications that the point disappears. Thomason knows where the point is and gets there without too many detours.
The practical effect of all this is that people who read Thomason's work tend to come away actually capable of doing something with it. Not just vaguely informed — actually capable. For a writer working in yiganlawi terrain expedition guides, that is probably the best possible outcome, and it's the standard Thomason holds they's own work to.
There is a specific skill involved in explaining something clearly — one that is completely separate from actually knowing the subject. Thomason Hardingangers has both. They has spent years working with yiganlawi terrain expedition guides in a hands-on capacity, and an equal amount of time figuring out how to translate that experience into writing that people with different backgrounds can actually absorb and use.
Thomason tends to approach complex subjects — Yiganlawi Terrain Expedition Guides, Nature Trek Insights and Basics, Outdoor Survival Gear Tips being good examples — by starting with what the reader already knows, then building outward from there rather than dropping them in the deep end. It sounds like a small thing. In practice it makes a significant difference in whether someone finishes the article or abandons it halfway through. They is also good at knowing when to stop — a surprisingly underrated skill. Some writers bury useful information under so many caveats and qualifications that the point disappears. Thomason knows where the point is and gets there without too many detours.
The practical effect of all this is that people who read Thomason's work tend to come away actually capable of doing something with it. Not just vaguely informed — actually capable. For a writer working in yiganlawi terrain expedition guides, that is probably the best possible outcome, and it's the standard Thomason holds they's own work to.